The FSD Discord is no stranger to impressive projects, dioramas, and other borderline-insane undertakings.
This gaming table stood out for the atmosphere it created, the unique concept, and the way in which the author(s) documented it all. It really became a shared experience with everyone else in the community and it absolutely needed a post on the FSD blog.
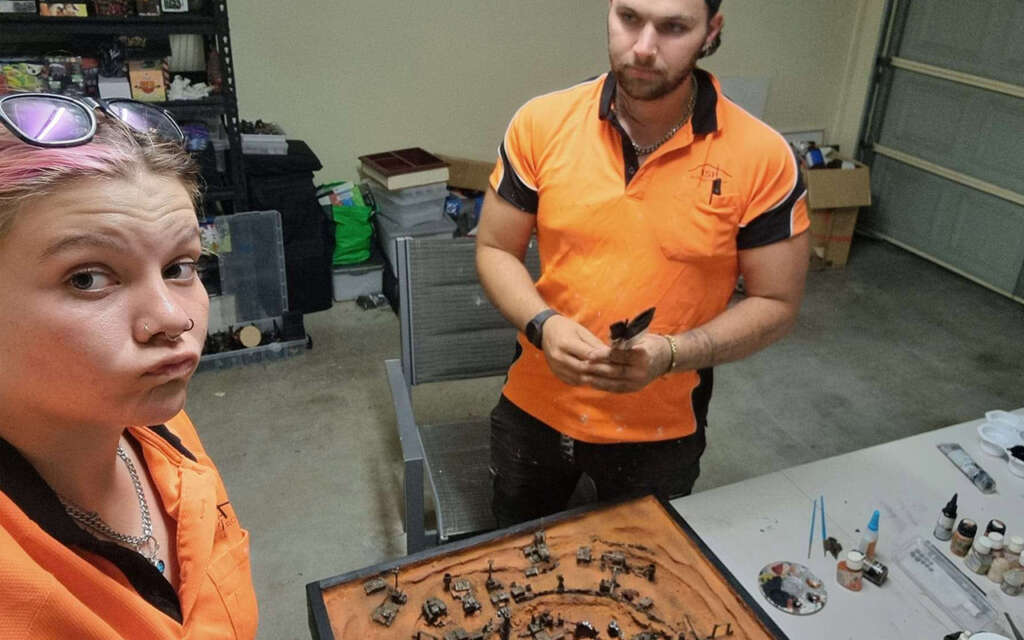
The table has been a group project, run by Tyson, Sam, Zac, and Brendan, from their local club in Australia.
The Structure
A solid wooden frame is always a great way to start for a table. I personally never do that, and that resulted in so, so many dents and chipped edges.
The frame is made out of thick plywood. They cut and attached wood trimmings on each side, lined it up and screwed it into place in the pine.
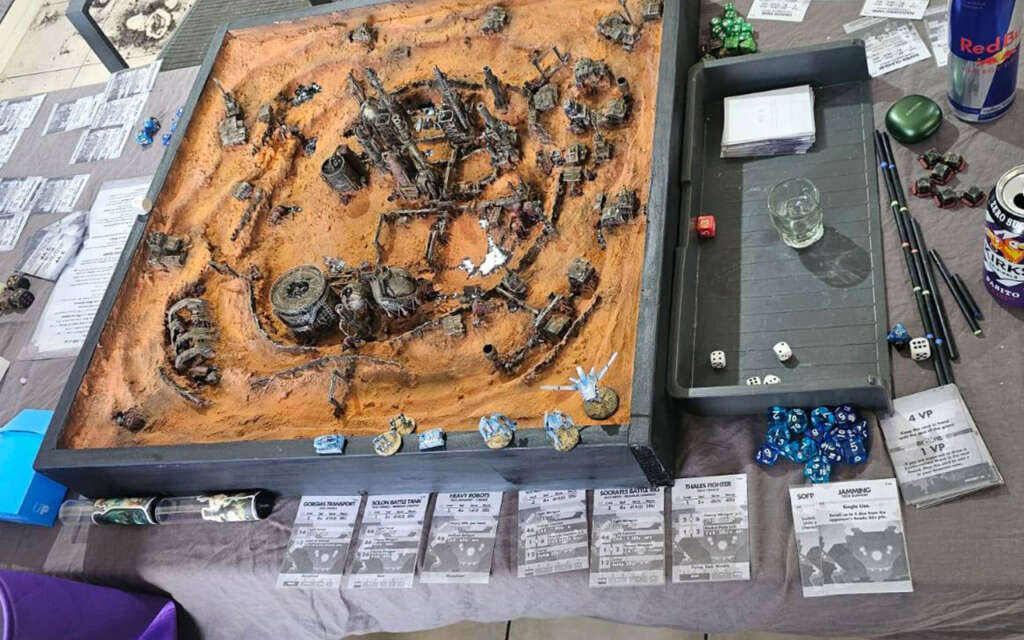
The group went for a 2 x 2 ft (60 x 60 cm, roughly) board, which is smaller than the recommended 2 x 3 ft size but can definitely fit plenty of games. They are also planning to use 2″ for one DU, to allow for larger games in the confined space.
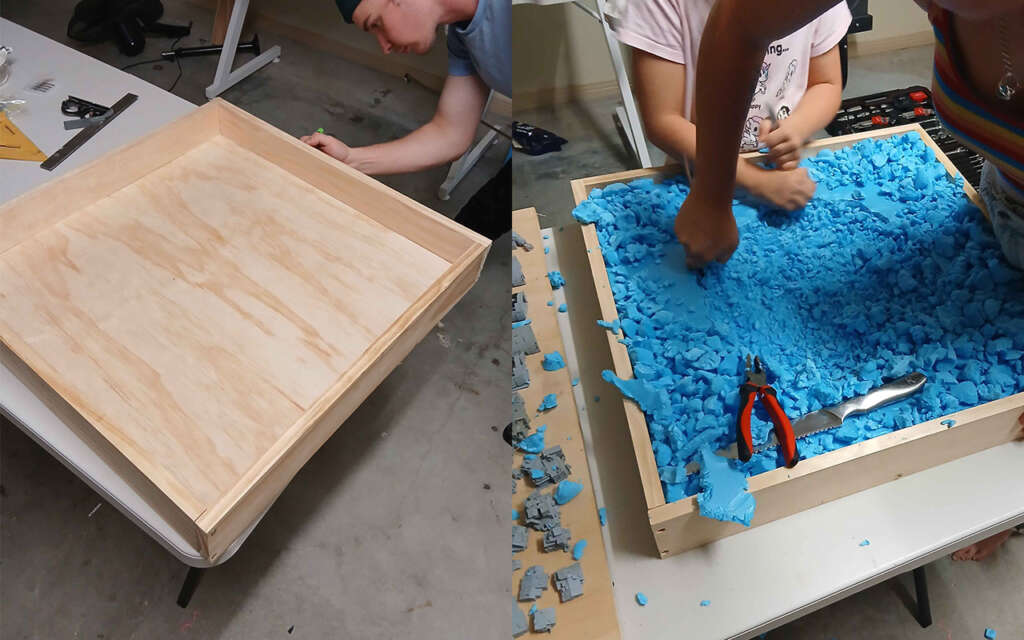
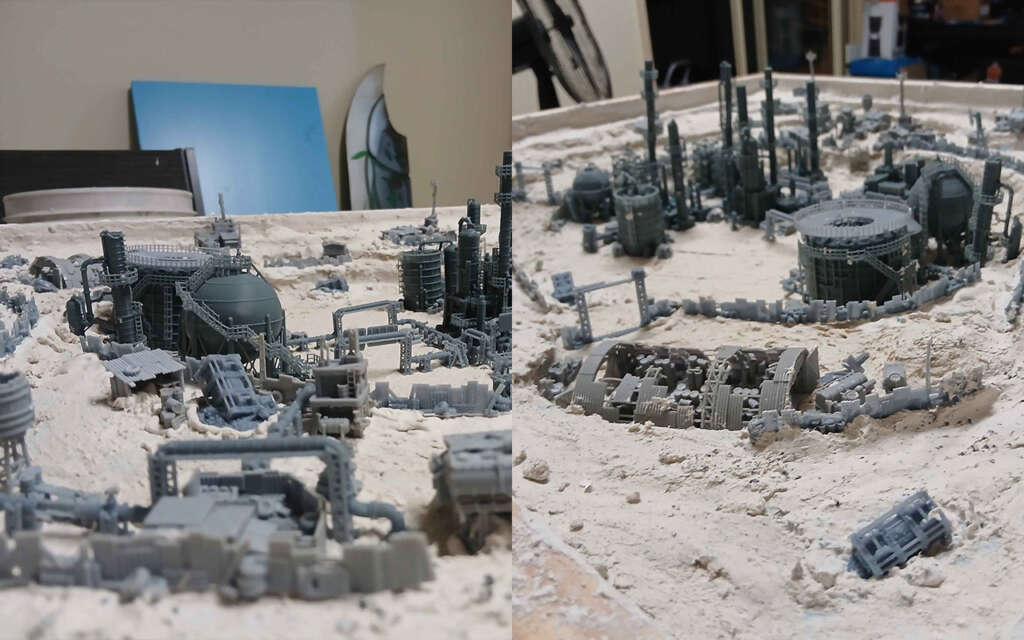
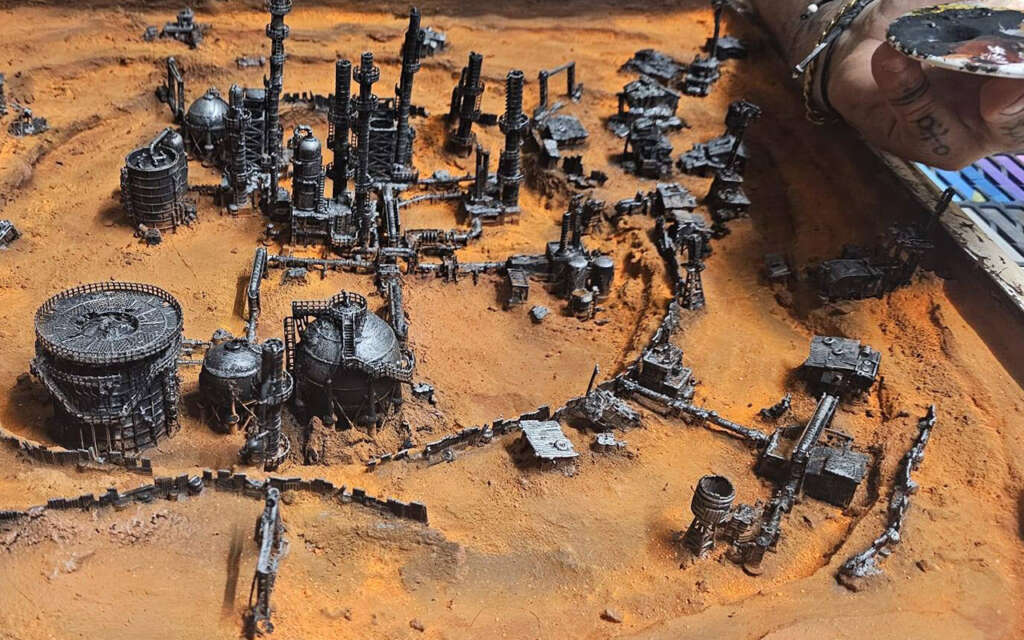
Right away, they started digging into the XPS layers. An open pit mine is generally made out of several circular areas that progressively dig deeper. I am not sure why oil refineries had to be put inside of it, but I totally dig the idea – pun intended.
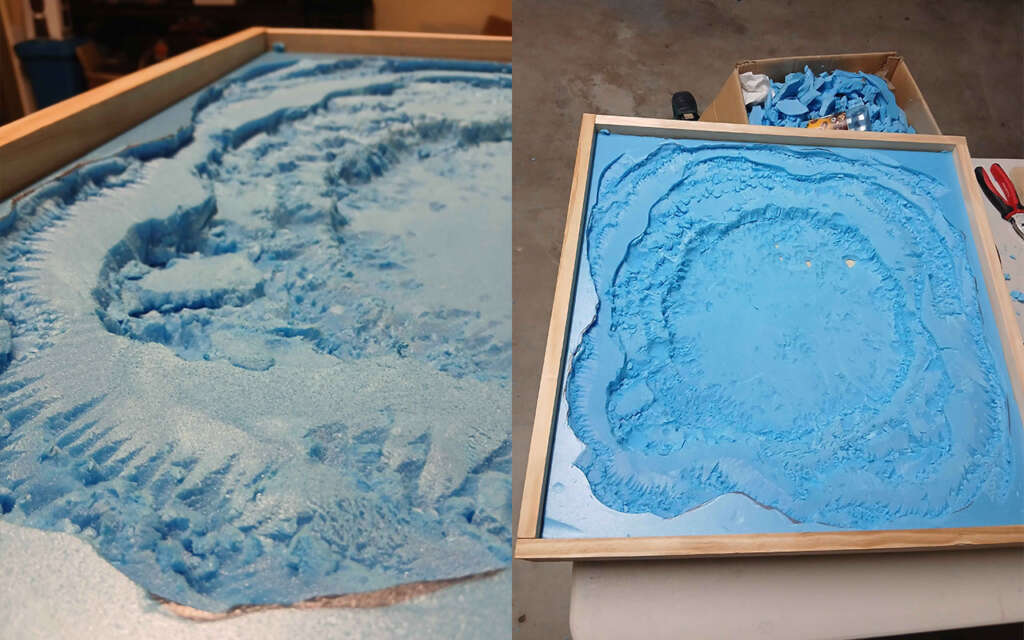
By progressively cutting and sanding the foam to remove any sharp edges, the result is a fairly deep elevation change between the edges and the center. The result is rough, with marks of the excavation, but it is fixed in the steps that follow.
Shaping it up
With the XPS core ready, they added a large mix of paper towels, mod podge, sand, rock, and plaster, all mixed together and slapped on the blue foam. This makes for a solid and textured base to both cover any marks and to remove the hard edges from the foam.
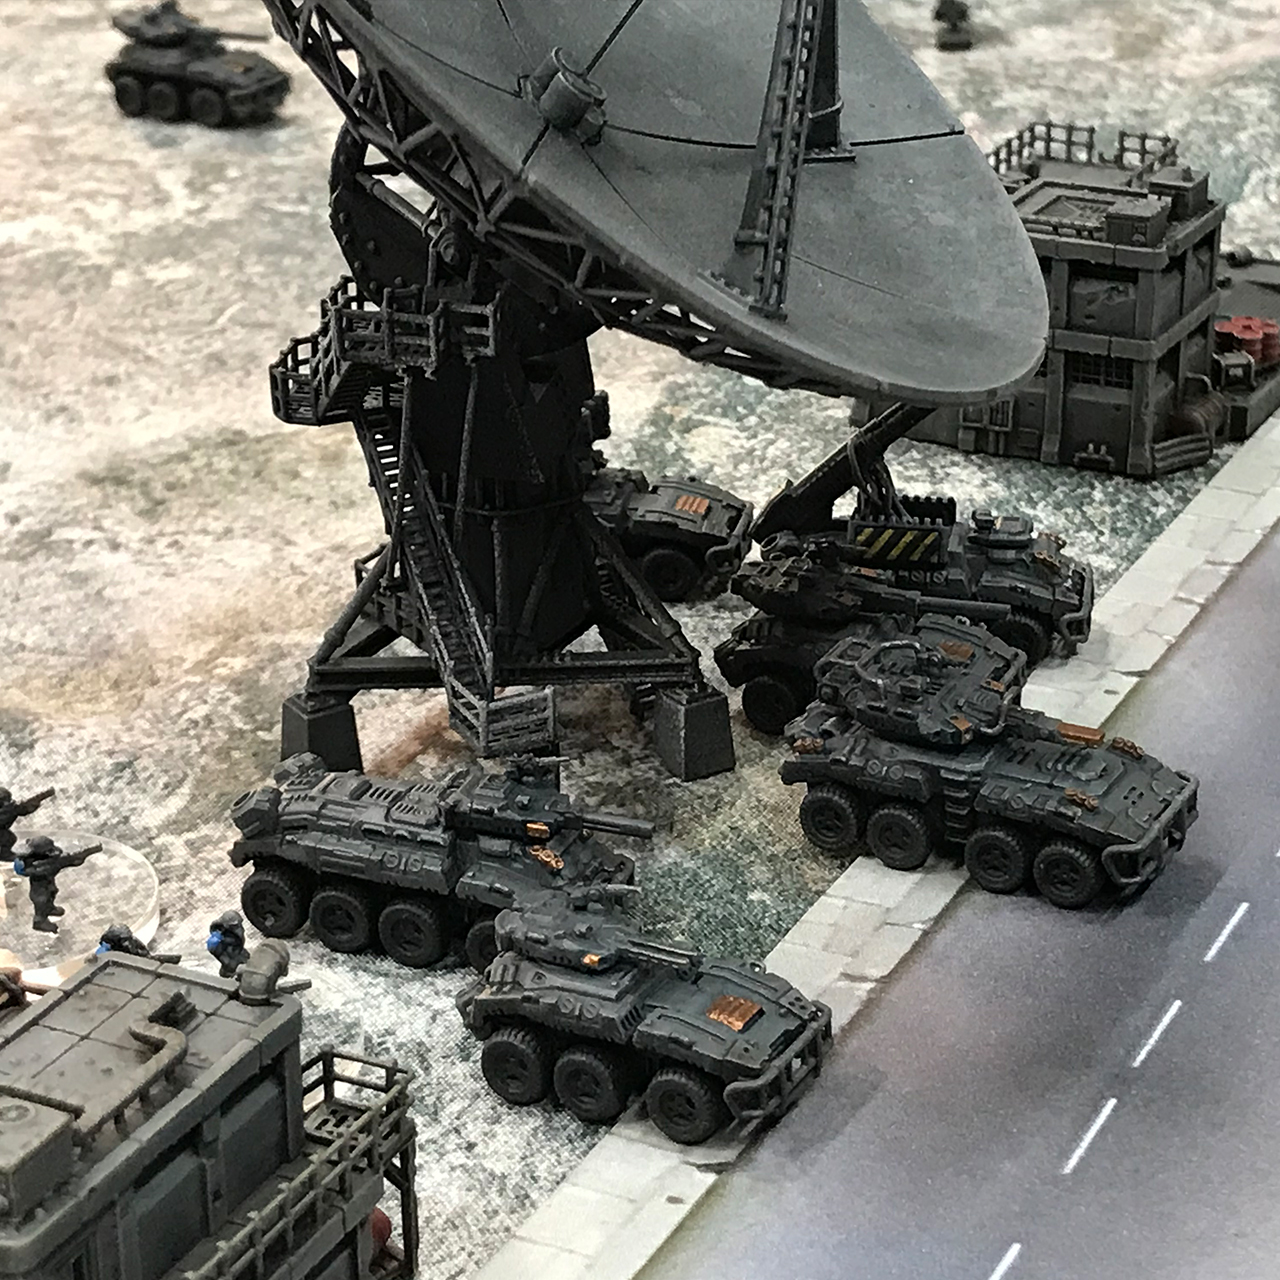
While at it, they also pushed all the terrain into place directly, so that it would look properly embedded in the environment. The goal was to have the feel of a Mars-like off-world mining colony, that has been forgotten and abandoned and has since been rediscovered.
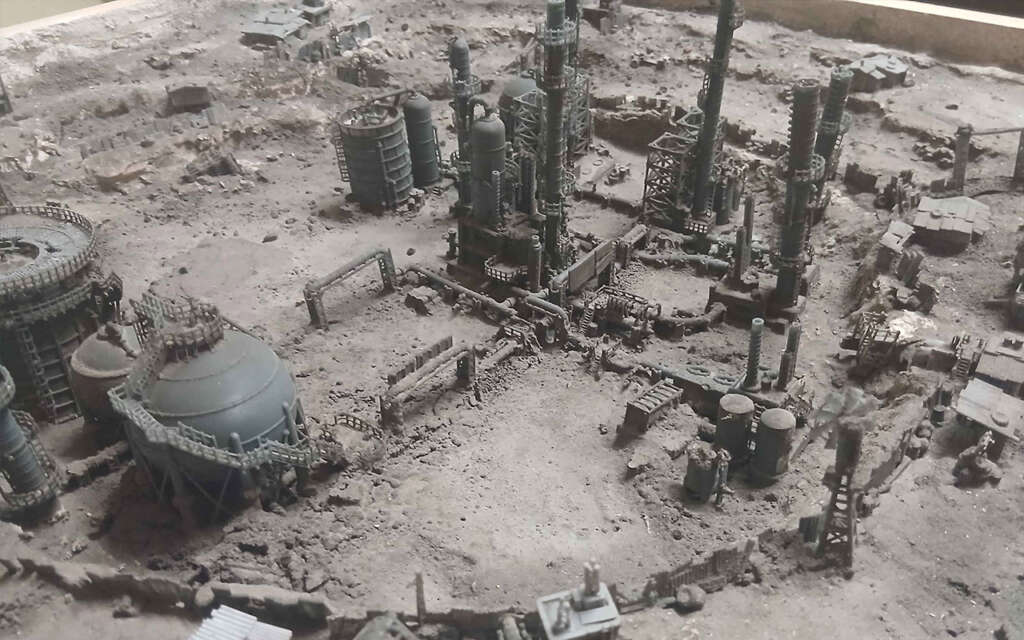
After the base layer had settled, they added some fine tile grout all over the board, building it up in areas and around the buildings, and mixing some sand and small rocks into it as well, for texture variety. They sealed it all down with a coat of sprayed isopropyl Alcohol, to help with capillarity, followed by watered-down PVA glue.
Ground Coats
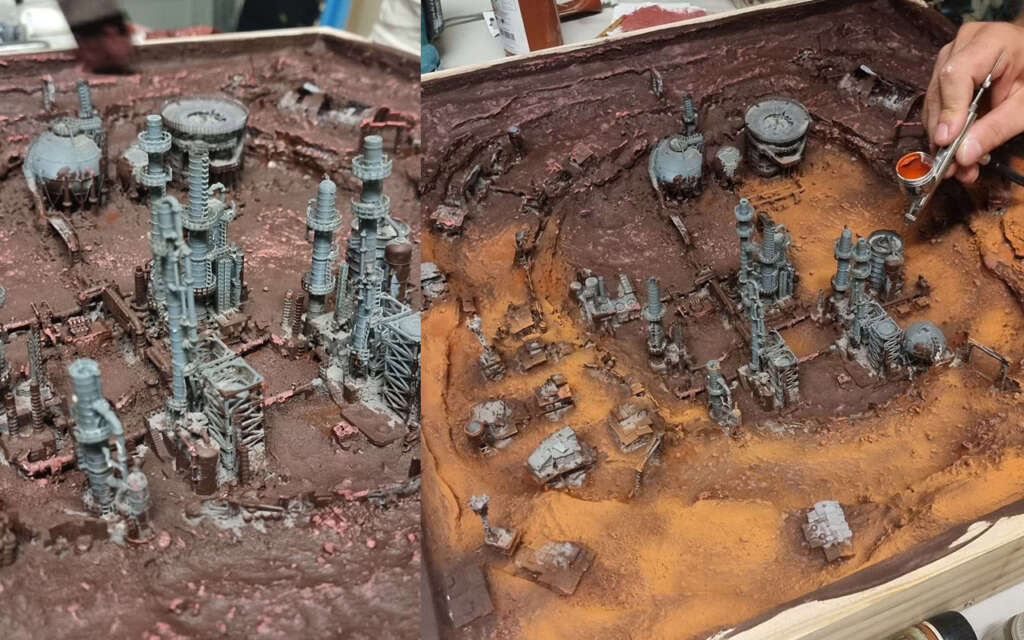
With the texture done, they started adding base colors, starting with mixing cheap brown and red craft paints. Right after, they applied a coat of liquid pigments with the airbrush.
First, a light AK light rust pigment, then a darker one into the shaded areas, to exaggerate the contrasts before the next step. A few layers of lighter liquid pigments and brushed-on dry pigment tied it all together.
Details
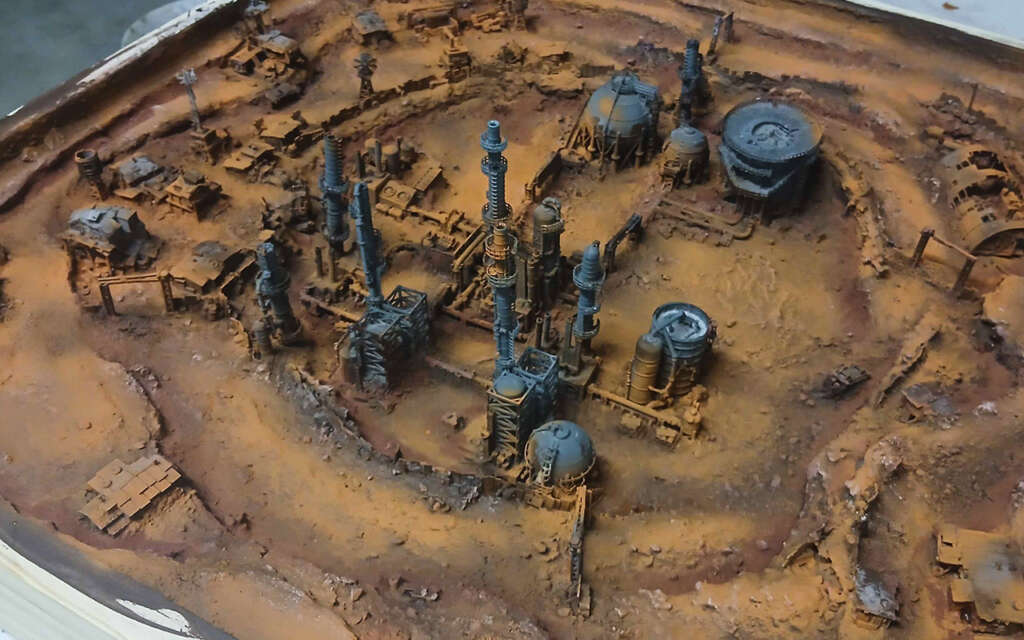
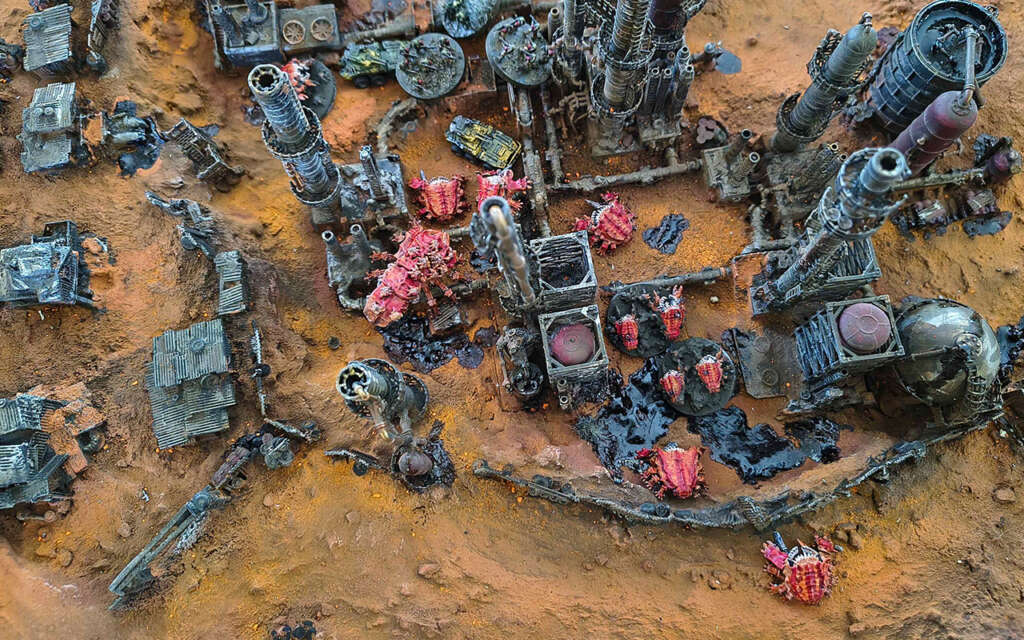
With the ground done, they started painting the buildings with a black undercoat and a general silver drybrush for details and weathering.

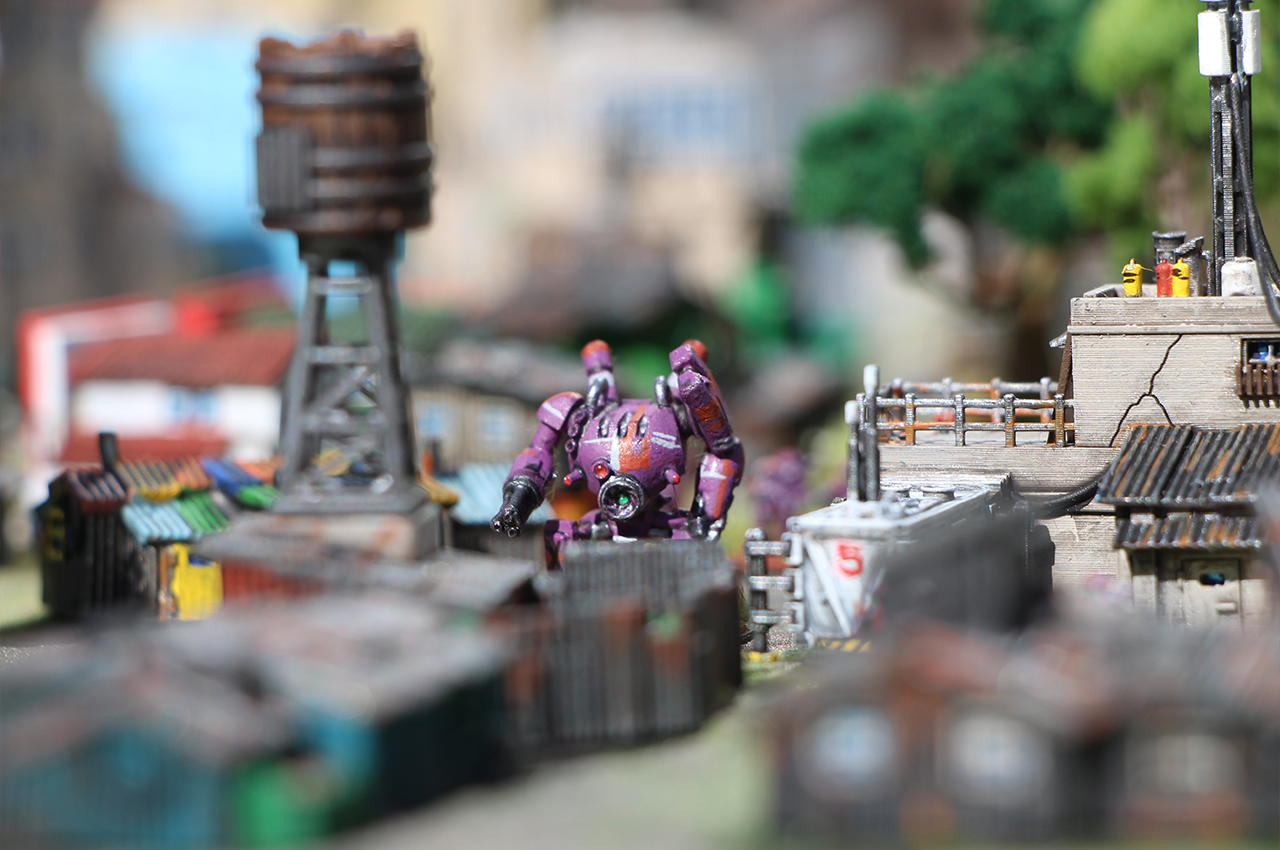
The beauty of a wasteland is that all colors blend together. Metal and rust and paint all mix, and a few touches of color, a few highlighted details really make the difference in the final effect of a table.
As a last and vitally important touch, they painted the edges of the table in black. This helps with framing the scene, and is a great way to hide any chip and damage to the frame!
This article has been written by me, but relying on and paraphrasing the process description that Tyson (starcryloud on Discord) kindly sent me together with the photos. Kudos to them, and hats off for the excellent result!
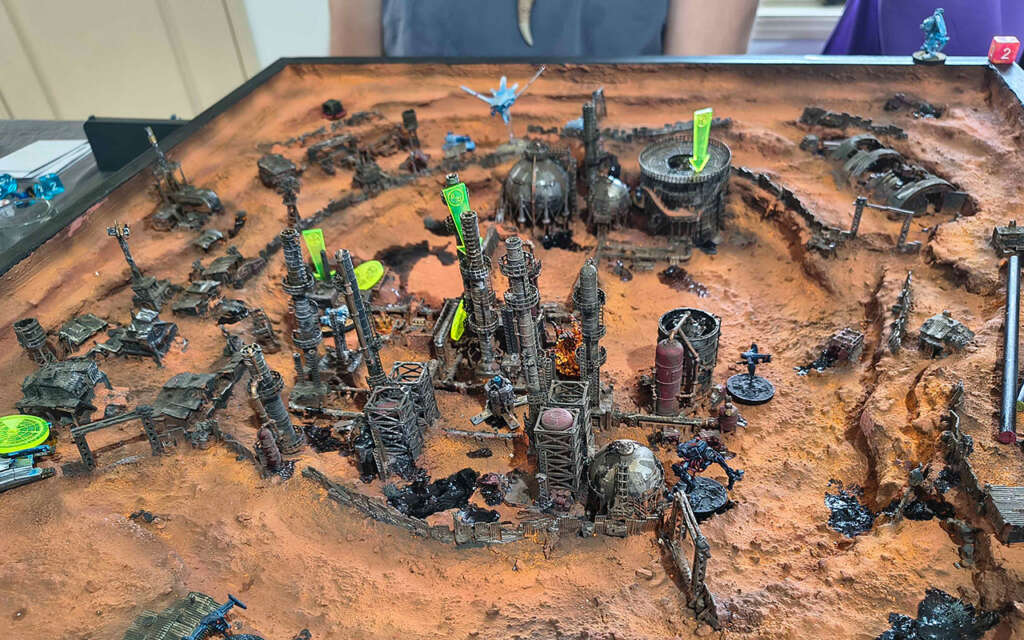
Hopefully this will be a nice way for the community to get inspiration and to build their own slices of battle!
Happy gaming,
Jack